Open item - Creditor - Receive payments
The Receive payment feature, will automatically generate the transactions to the receipts batch for a selected transaction and print a combined receipt / payment advise (if selected). The transaction will automatically be posted updated to the ledger.
|
|
The "Receive payment" feature may also be launched on the context menu of selected transactions on the "Open item link" screen of a selected debtor (customer / client) account or on the "Open item link" screen of a selected creditor (supplier / vendor) account. |

It will generate the transactions as follows:
- Purchases - Negative amount - Debit : Creditor (supplier / vendor) account and Credit : Bank account.
- Supplier returns - Positive amount - Debit : Bank account and Credit : Creditor (supplier / vendor) account.
Receive payments - Creditor (supplier / vendor) accounts
To make a payment:
- Go to Open item link (Default ribbon). The Totals tab of the "Open item link" screen will be displayed.
- Click on the Transactions tab and click on the Filter button.
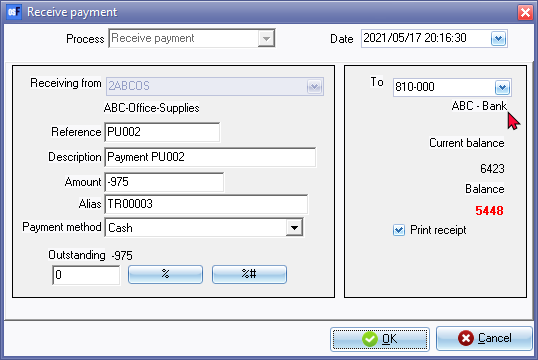
- Select the creditor (supplier / vendor) account and select a transaction. Right-click to select the Receive payment option from the context menu. The "Receive payment" screen is displayed:
- Enter and select the following options:
- Date - The Operating System (e.g. Windows) date will automatically be displayed in the date field. Enter the date or select the date, if necessary.
- Bank account - Please make sure that the correct bank account is selected.
- Receiving from - The account code is disabled. The name of the creditor (supplier / vendor) is displayed. Check that the correct account is selected.
- Reference - The Document number or reference number in batches.
- Description - The default description is Payment follows by the Document number.
- Amount - The default outstanding amount of the selected transaction is displayed. You may overtype this, if necessary.
- Alias - The alias is automatically generated. It is prefixed by TR and five (5) numeric characters.
- Payment method - Select the payment method Cash, Cheque, Credit Card or Other.
- Print receipt - Select to print out or not to print the receipt / payment advise. If this field is left blank, no receipt payment advise will be printed, but the details of the receipt will generate a transaction in the receipts batch linked to the bank account. The transaction will automatically be posted (updated to the ledger).
- Click on the OK button.
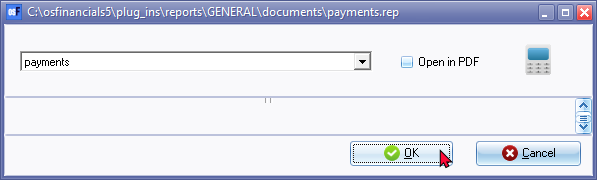
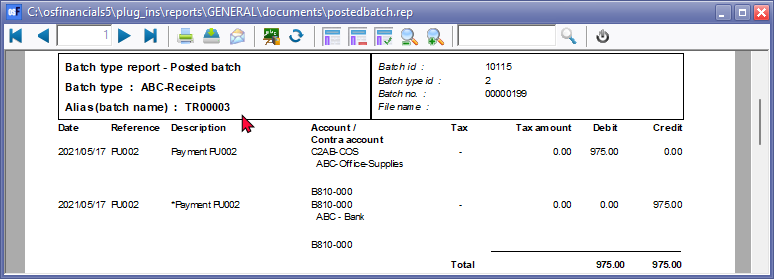
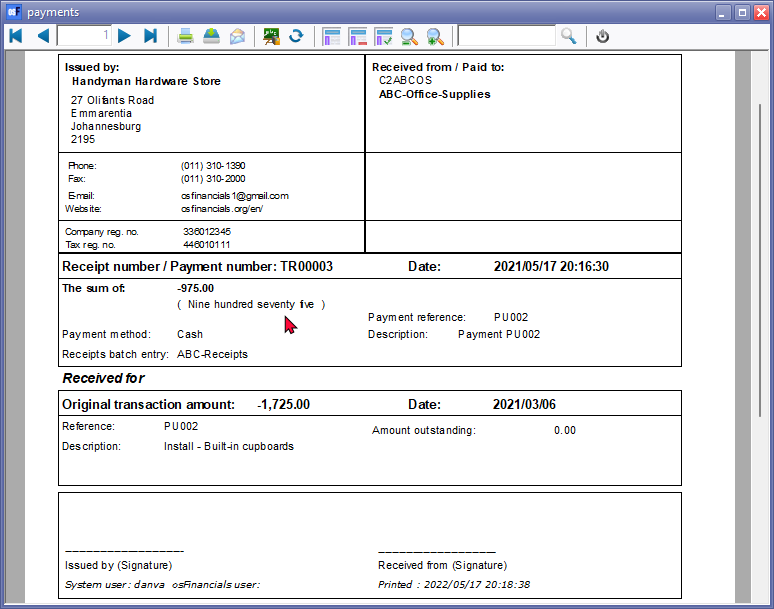
- Click on the OK button of the parameters screen. The transaction for the receipt will automatically be inserted into the Receipts journal from which this option was initiated. An example of the printed "Receipt / Payment" (if the "Print receipt" option was selected), is as follows:
- Click the Cancel button of the parameters screen.
|
|
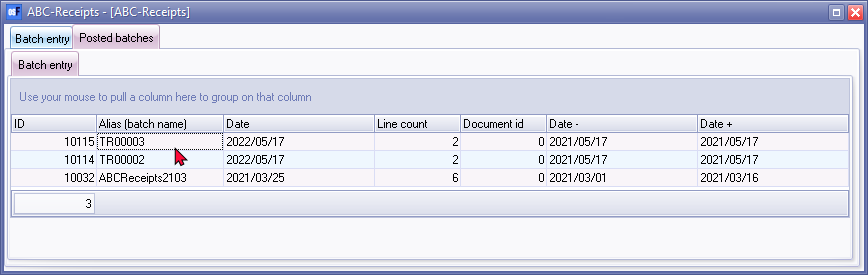
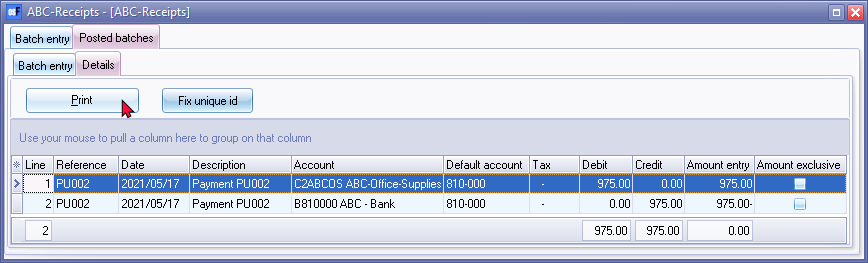
The Receive payment feature, will automatically generate the transactions to the receipts batch for a selected transaction and print a combined receipt / payment advise (if selected). The transaction will automatically be posted (updated) to the ledger. The updated posted transaction will be available in the Receipts batch. The outstanding amount of a creditor (supplier / vendor) account is usually a credit amount, and the creditor (supplier / vendor) account will be debited and the bank account will be credited. To view the Receipt transaction:
|