")
")

Page 3 of 11
Add Multi-Language Users
By adding users and selecting different system language, and User language for each user, you may login to different languages.
To Add Multi-Language Users:
- Go to Setup → Access Control menu.
- Click on the Add button and rename the User.
- Enter a Password for the User.
- Click on the Others tab in TurboCASH (up to build 600) After build 763 you need to click on the Standard Security tab.
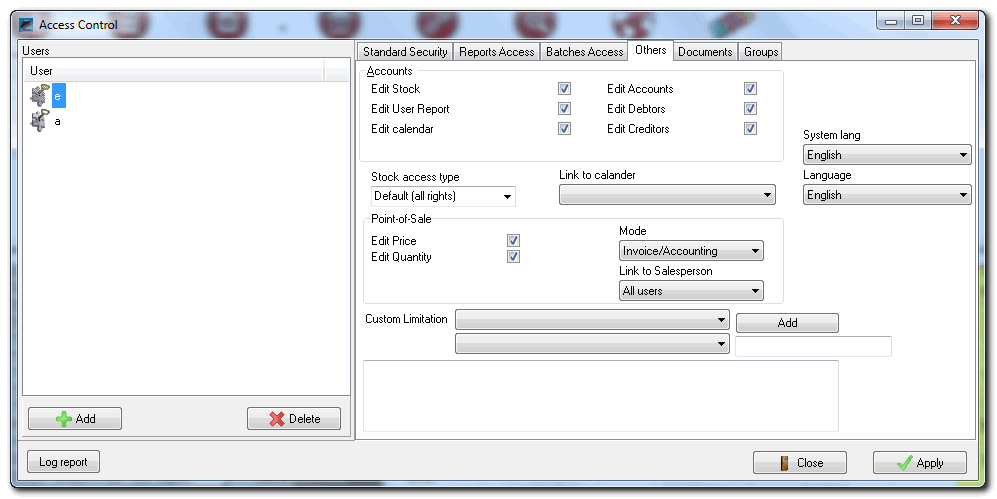
- Select the System Language.
- Select the User Language.
- Click on the Apply button.
- Click on the Add button to add the next User and rename the User.
- Enter a Password for the User.
- Click on the Others tab in TurboCASH (up to build 600) After build 763 you need to click on the Standard Security tab.
- Select the System Language.
- Select the User Language.
- Click on the Apply button.
- Click on the Close button.
| System Language will list all the available languages in the Start → Switch Language menu. Any language may be customised / edited for your specific requirements on the Setup → Tools → Customise Language menu. |
| Language will list all languages created / added in the Setup → Groups menu - Languages tab. |
Add Multi-Language Groups
The names or descriptions for Groups, as entered / edited in the Setup → Groups menu for all the Groups tabs, are by default displayed on screens, lookups, documents, reports, etc.
|
|
To use multi-language Groups, Language Groups need to be created / added in the Setup → Groups menu - Languages tab. |
The following Groups need to be translated, where necessary:
- Account Group 1
- Account Group 2
- Debtor Group 1
- Debtor Group 2
- Creditor Group 1
- Creditor Group 2
- Stock Group 1
- Stock Group 2
- Document Group 1
- Document Group 2
- Payment Types Group
- Salesperson Group
- Status Group (Used for Projects)
- Cost Group 1 (Used for Cost Centres)
- Cost Group 2 (Used for Cost Centres)
To Add Multi-Language Groups:
- Go to Setup → Groups menu.
- Click on the Account Group 1 tab.
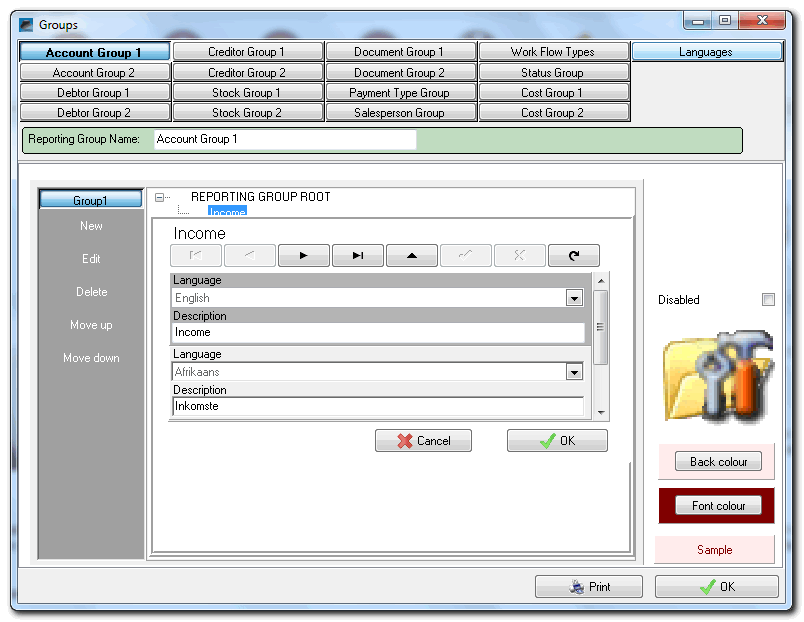
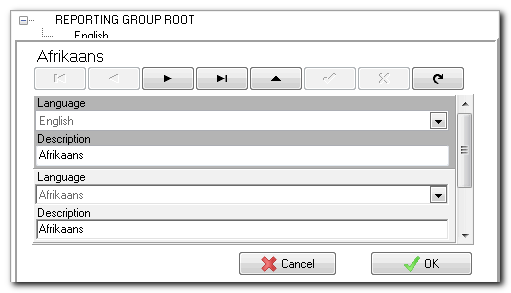
- Select a Group (e.g. Income, etc.) on the list and right-click to select the Languages on the context menu.
- Enter the Name and Description for the Accounting Group 1 item.
- Click on the OK button.
- Repeat the process to add all required items on Account Group 1.
- Repeat the process for all other Groups (e.g. Account Group 2, etc.) where required.
- Click on the OK button of the Groups screen.